7. IF YOU RUN OUT OF PAPER, MAKE IT LOOK LIKE YOU MEANT TO DO IT.
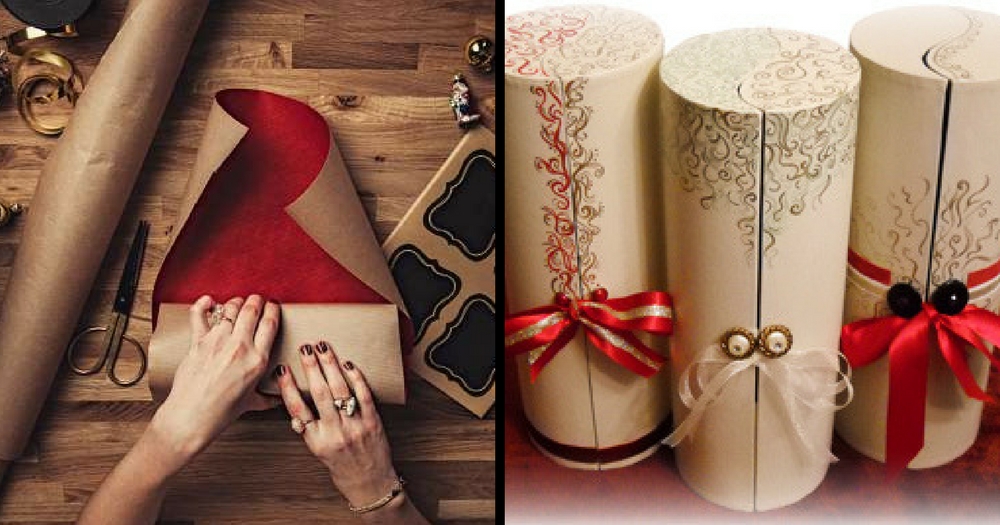
If you mess up and don’t cut enough paper (or are at the end of your roll), it’s no big deal. There are solutions that make it look like that was part of your plan all along—like creating a belly band. “I cut a strip of paper, fold under each edge, and sometimes, I’ll pleat that into a tuxedo fold in the middle, and I’ll tape that to the other paper,” Dulaney says. When he does this, he wraps the gift top-side up. “I’ll have the gift right-side up and will construct the paper on top of the gift, so the belly band becomes the centerpiece.” Have a slice of the exposed package on the ends? Use a wide ribbon or embellishments to disguise it.

8. WHEN WRAPPING CYLINDERS, PLEATING IS KEY.
There are two ways of dealing with a cylinder: What Dulaney calls the bon-bon method—“where you scrunch the paper on each end and tape the ribbon on it” so it looks like a candy—and pleating. Trust us when we say pleating is easier to do than it is to explain—check out this video for a tutorial:
9. ADD EMBELLISHMENTS.
Once you’re finished wrapping, put the present in the presentation by adding embellishments to the outside of the package. This could be as simple as a ribbon, but Dulaney often kicks it up a notch. “I like to give a little gift on the outside that’s a hint of what’s on the inside,” he says. “If I’m giving a book, I might embellish the gift with bookmarks; if I’m giving a journal, I might embellish with a couple of writing instruments on the outside.” Sometimes, his embellishments follow gift wrapping trends. “There are a lot of wood grain papers on the market this season,” he says. “You can wrap with that and embellish with a sprig of rosemary from your garden or a bough of holly from your holiday tree.”

10. EMBRACE UNUSUAL SHAPES.
Wrapping boxes are easy, but what happens if what you need to wrap isn’t box-shaped? Dulaney has several methods for dealing with this. The first—and easiest—is to grab a gift bag. “When I do a gift bag, I gift wrap my gift bag,” he says. “I’ll add a ribbon or a bow around the handle, or I’ll replace the handle with a matching ribbon.” Other times, he might wrap something tangentially related to a gift to place under the tree before revealing the real deal. “If I’m giving someone a tennis racket, I’ll wrap a tennis ball, and when they open that, I’ll present them the racket with a bow on it,” he says.
Another method is to wrap your gift to look like exactly what it is. “Last year on Jimmy Kimmel, I wrapped a vacuum cleaner, and it looked exactly like a vacuum cleaner,” Dulaney says. “[The gift] is a gorgeous paper sculpture when you’re done, but of course there’s no mystery as to what’s inside it.”
If you prefer to camouflage a gift, prepare to get creative. “I’ve done a bicycle before where I wrapped it in all of this craft paper, created cardboard cutouts, and basically turned it into a deer with a scarf wrapped around its neck,” he says. “You’re so distracted by that—you’re like, ‘Oh, it’s a reindeer!’—that you don’t even think bicycle until you’re inside it.”
Of course, you could buy a box to put your unusually-shaped gift in, but what’s the fun in that?

11. USE DULL SCISSORS TO CURL RIBBON …
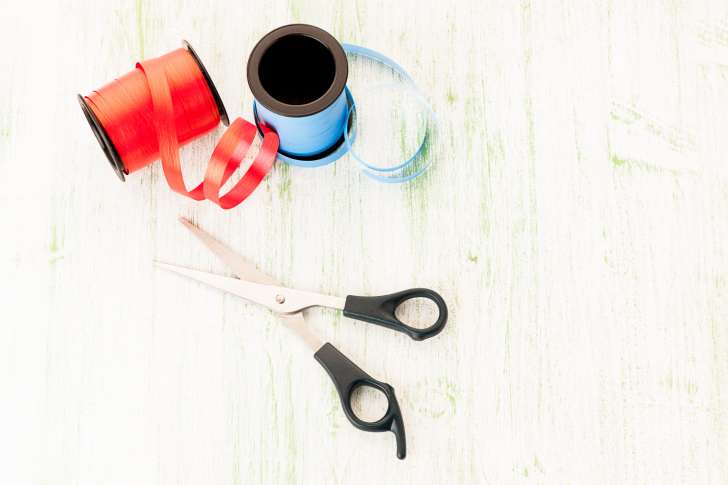
When using curling ribbon, sharp scissors are not your friend. They won’t just tear the ribbon—they could cut your finger, too. Dull scissors are the way to go. “When the ribbon comes off the spool, the outside of the ribbon is the finished side,” he says. “The part that goes to the inside of the spool is where you want to put your scissors or your curling tool. I put the scissors under the ribbon, put pressure on it from above with my thumb, and pull. The trick is to only do it once.”

12. … BUT DON’T THINK CURLING RIBBON IS YOUR ONLY OPTION.
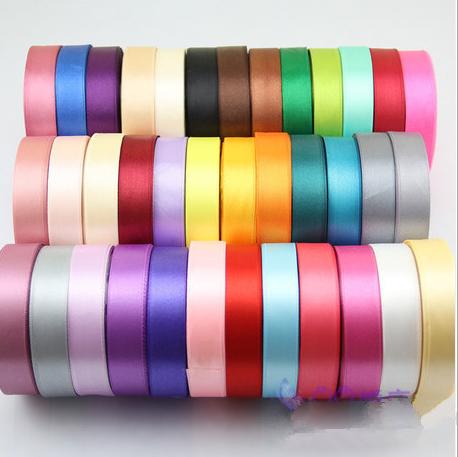
Depending on what kind of look you’re going for, you might opt for a silk ribbon (to which you’d add angled or forked tails) over a curling ribbon. Dulaney likes to use a wire-edge ribbon, which can help those who aren’t used to tying perfect bows create prettier shapes. “The bow holds its shape really well,” he says. “You can hand-shape the tails that are coming off that bow, and they will hold that shape. A satin ribbon is really beautiful but can be slippery, and curling ribbon has a limp finish to it, which can look sloppy in the end. With wire-edged ribbon, you can create the bow and then really shape it into something you love.”

13. DON’T CUT YOUR RIBBON OFF THE ROLL UNTIL YOUR BOW IS DONE.
Do you eyeball how much ribbon you think you’ll need, cut it off the spool, and hope for the best? Rookie mistake. When he’s tying a bow, Dulaney starts at the top of the gift and gives himself 12 inches of extra ribbon that stays attached to the spool. And, oh yeah, he does his crisscrossing and knotting of the ribbon on top of the gift. “People have a tendency to do that on the bottom of the gift, but then, when they’re done, there’s a bump under there,” he says. “Your gift rocks—it doesn’t sit flat.”
Here’s how Dulaney does it: “I hold the ribbon to the top of the gift with my thumb, wrap my ribbon around the bottom, and bring the ribbon back up to the top of the package, then criss-cross the top of the gift,” he says. “Then I wrap the ribbon lengthwise around the gift, around the bottom, back up to the top, and then I will do my first half knot with the ribbon. I will then tie the bow, and then—and only then—will I cut the ribbon from the spool.”

Credits: mentalfloss.com
Share this story on Facebook with your friends.
